

kwally
-
Gesamte Inhalte
64 -
Benutzer seit
-
Letzter Besuch
Posts erstellt von kwally
-
-
Thanks for the info Protron. I decided to stay with just the master brick and the colour bricklet, and dispense with all the rest. I have the colour bricklet working fine now. The only change I want to make is to add and LCD bricklet, so I can get a read-out of the colour values without having to connect a monitor. It has been some time since I configured the LCD bricklet, so I will need to browse around the Tinkerforge site for a while. Are you aware of a ready-made script for the colour bricklet values displaying on the LCD bricklet? My set-up is housed inside the case normally used for the weather station.
Many thanks
Karl
-
Hi Photron,
After having removed the Wifi extension, I have only a masterbrick and the colour bricklet, nothing else. As an aside, I can't find a case for the colour bricklet in the shop? I am using the case meant for the i/r temp. bricklet; this works okay somewhat, except I now don't have a case for the i/r bricklet, which I disconnected to trouble shoot.
Cheers
Karl
-
Hi,
It,s a Pi3, the latest iteration. I am using the Power-supply recommended by Raspberry. I just removed the Wifi extension and have it working okay. I am wondering how I can incorporate this brick successfully?
Thanks
Karl
-
Hi Photon, Herewith the result of lsusb, I have attached the brickd.log to this post
Bus 001 Device 006: ID 1a2c:0021 China Resource Semico Co., Ltd Keyboard
Bus 001 Device 005: ID 045e:0084 Microsoft Corp. Basic Optical Mouse
Bus 001 Device 009: ID 16d0:063d MCS
Bus 001 Device 004: ID 148f:5370 Ralink Technology, Corp. RT5370 Wireless Adapter
Bus 001 Device 003: ID 0424:ec00 Standard Microsystems Corp. SMSC9512/9514 Fast Ethernet Adapter
Bus 001 Device 002: ID 0424:9514 Standard Microsystems Corp.
Bus 001 Device 001: ID 1d6b:0002 Linux Foundation 2.0 root hub
-
Thanks Photon, I will check this out, I am just wondering if I should connect my bricklets to the wiFi stack, or leave them connected to the master brick, would this matter?
-
Thank you Der Angler, that is exactly what I wanted to know. I now need to educate myself re the Red Brick, and how one communicates and views information provided by it.
Thank you all
Karl
-
I wonder if anyone could refresh my memory. I just built a new RPi set-up andcan get brickview to show my bricks. I suspect that the brick deamon is not running. In the past it loaded automatically on start up. A version check shows version 2.2.2. But no joy with the brick viewer???
Cheers
Karl
-
Could you confirm that the Red Brick negates the use of a Raspberry?
-
Could someone please confirm that the Red Brick obviates the need for a Raspberry ?
-
Thanks for that. I will make the necessary enquiries at my paint shop and see what information they need to re-produce a colour sample. The Bricklet looks promising.
-
Weiss jemand ob es moeglich ist diese bricklet mit einen farbdrucker zusammen schliesen kann das man einen "output" kriegt? zum beispiel das bricklet ein farben sample das existiert zu drucken? dann kann man das sample zu den farben geschaeft bringen und einen selben farben topf kaufen? das waehre ja fantastisch.
Karl
-
Ja mein lieber, Ich habe schon seit vielen Wochen experimentiert mit meinen Geheuse fuer meine Wetterstation, ich habe gefunden das die Raspi zwischen 3.5-4 grad waermer macht. Ich habe probiert eine 40 mm 5volt kuehler rein und nach ein paar umaenderungen hat es geklappt. Im moment habe ich den RPi ausserhalb dran und das hat das problem geloest. Ohne fan. wie du ja weisst, wenn das humidity bricklet waermer ist wie die freie luft griegst du ja eine falsche anzeige fuer die luft veuchtigkeit. Die frage ist was dir wichtiger ist, die luft veuchtigkeit ober eine genaue luft tremperature? wenn beide wichtig sind ist es am besten den RPI rausnehmen, oder natuerlich den RPi drinnen lassen und die beiden bricklets daraussen ran machen.
Karl
-
Das Tnker Forge shop hat bricklet kablen bis zu 2 meter; ist das die maximum Laenge die moeglich ist? Ich moechte zwei licht bricklets auf meine TV antenne rauf, I.a.w. so hoch wie moeglich bei meinem Haus, 4 meter wuerded ideal sein.
Karl
-
Ich weiss nicht ob viele Wetter stationen besitzer wissen das die web-site "plot.ly" existiert? Ideal zum climate data graphen zu verzeichnen. Fantastische Graphen. Kann man die daten direct von Drop Box importieren und akzeptiern Python scripts. Gefaellt mir.Frei frei frei (im moment).
Karl
-
I live in Brisbane, Australia. The insect I am referring to is colloquially known as a "Dirt dobber". It is in fact a type of wasp with long dangly legs; looks quite comical. It builds a mud structure within which it lays its eggs. It does this in the most unlikely places. The other ones are tiny ants which invade and the ubiquitous Gecko. I am about to replace a smoke alarm which has been "neutralised" by a gecko, alas it died inside, as for some reason it got in but couldn't get back out.
I thought about moving the temperature sensor to the outside but that still needed a separate insect-proof housing; I might do that yet. I also have to find a permanent spot for the Weather Station.I am keen to have the light sensor facing East to catch the Sunrise, without exposing the temp. sensor to the full sun. I will need to experiment. At the moment the most suitable spot doesn't have a power-point nearby and so it goes.
-
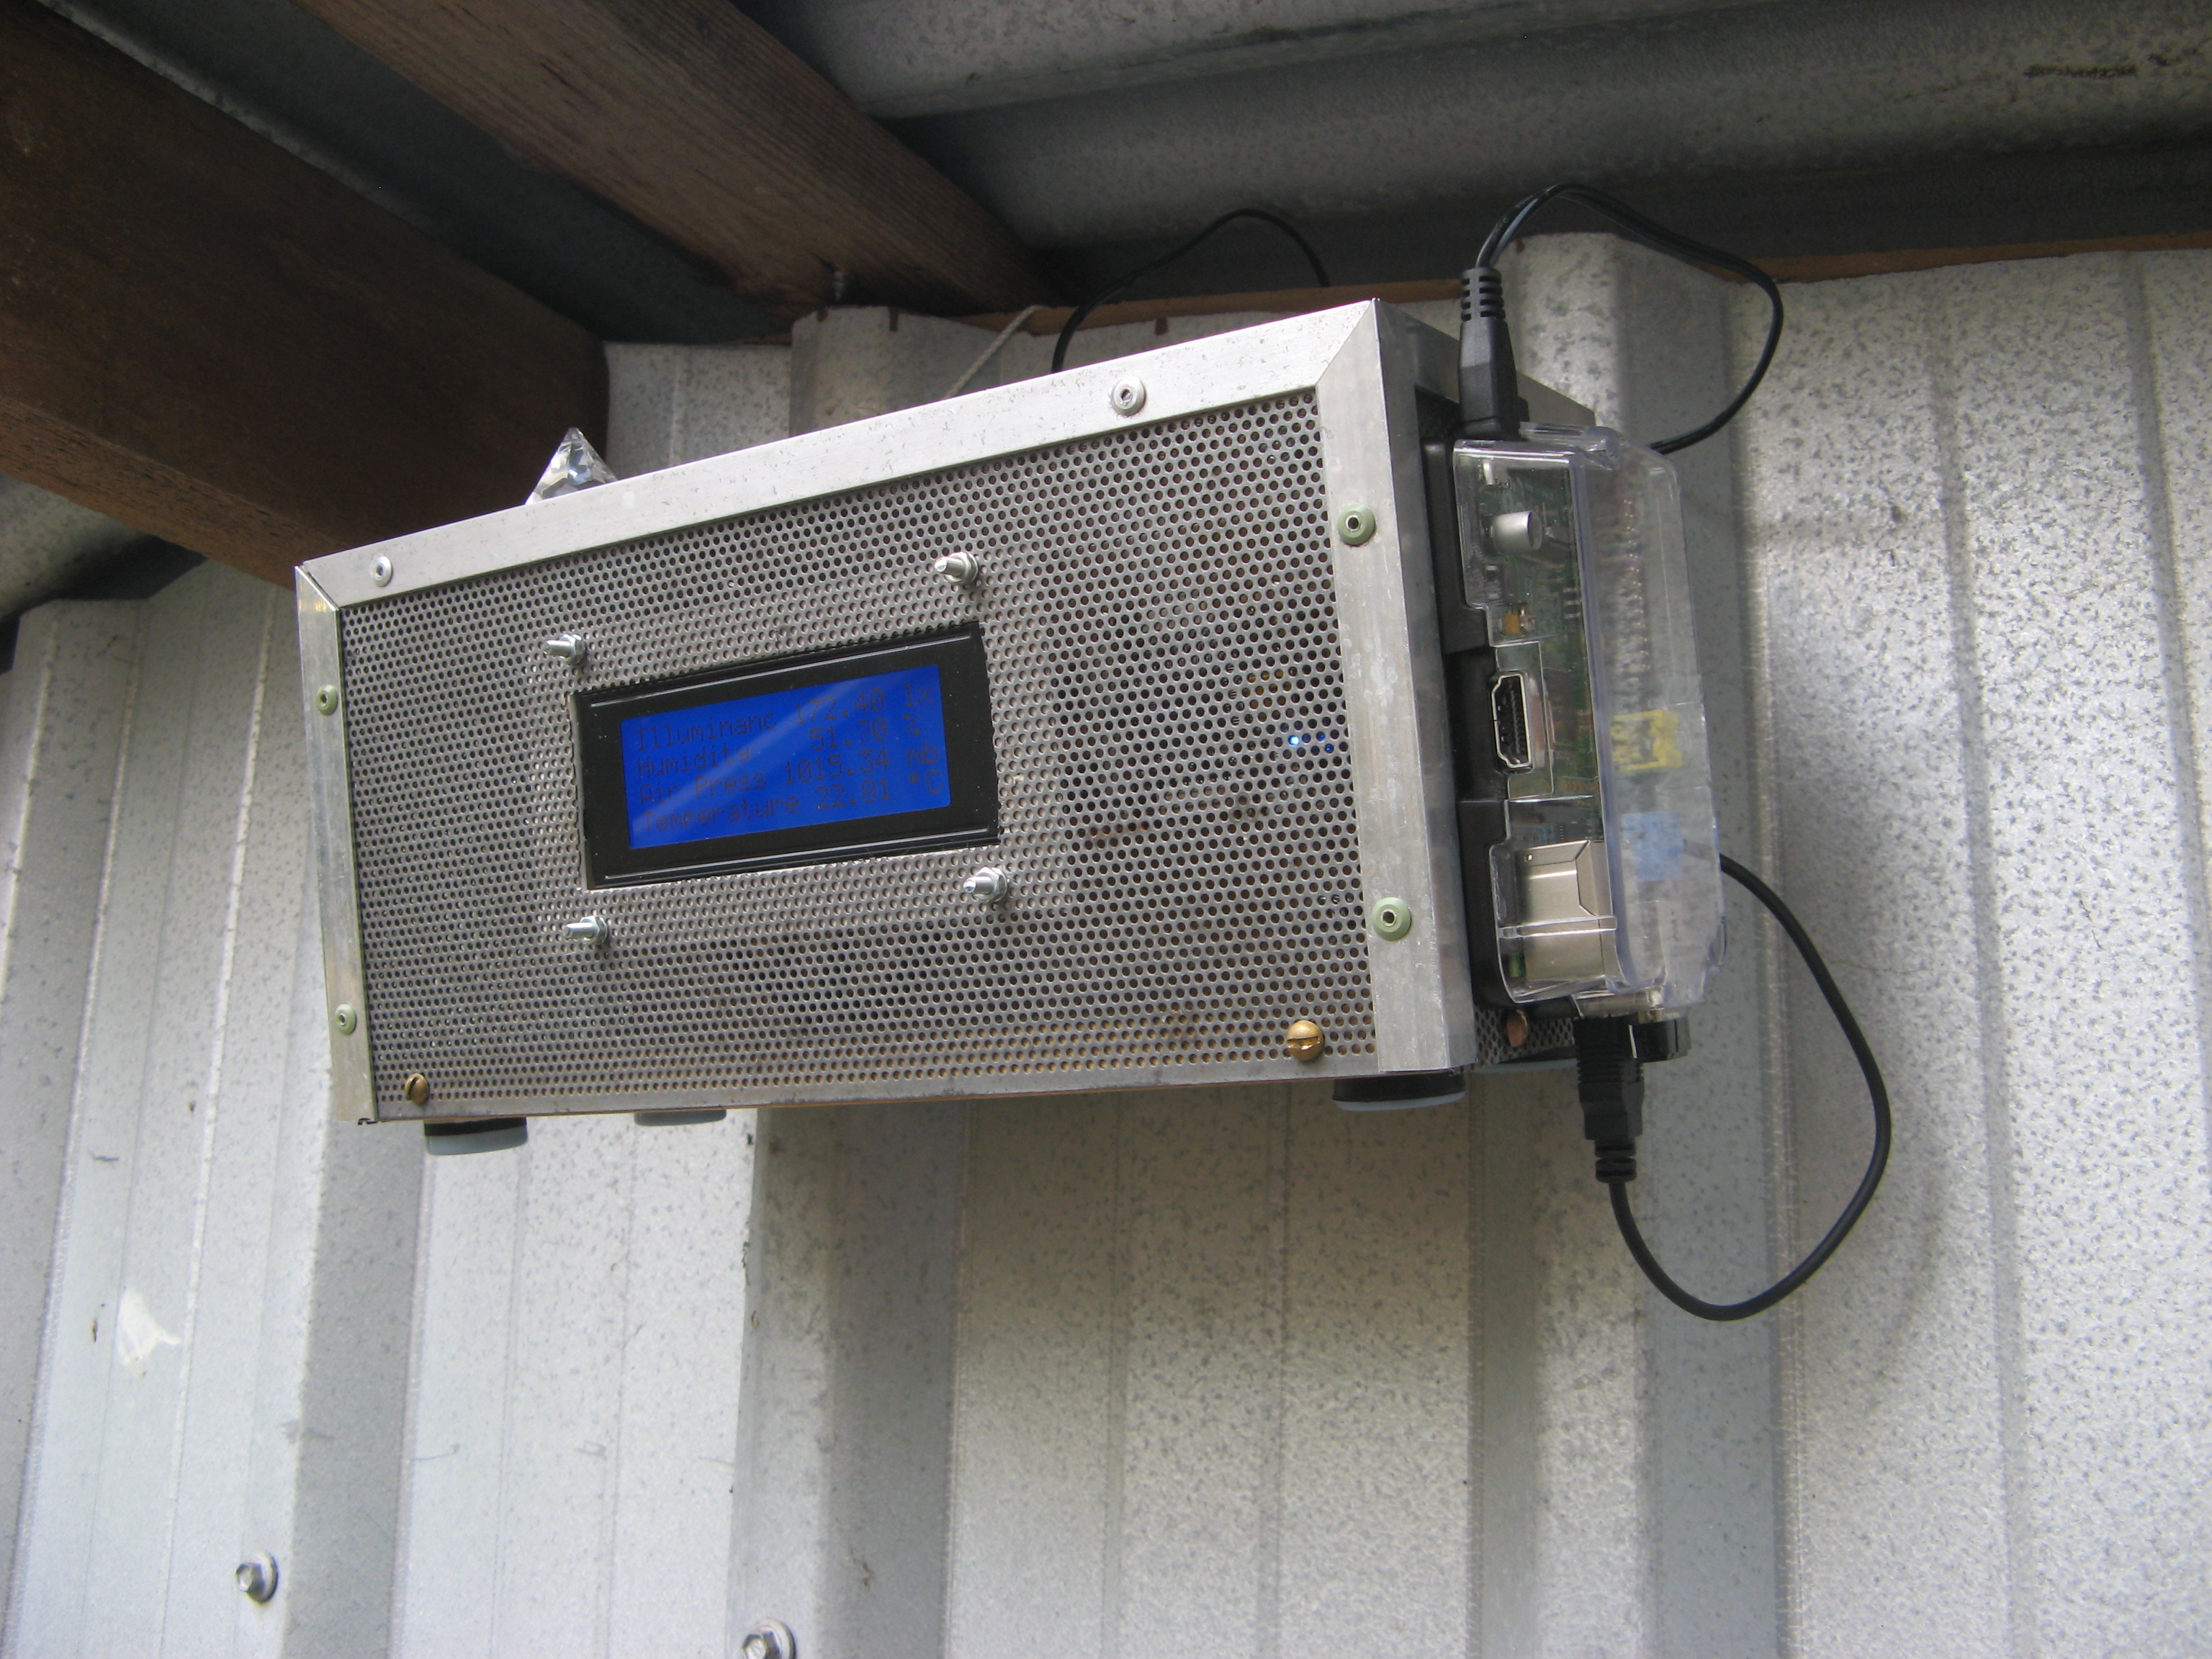
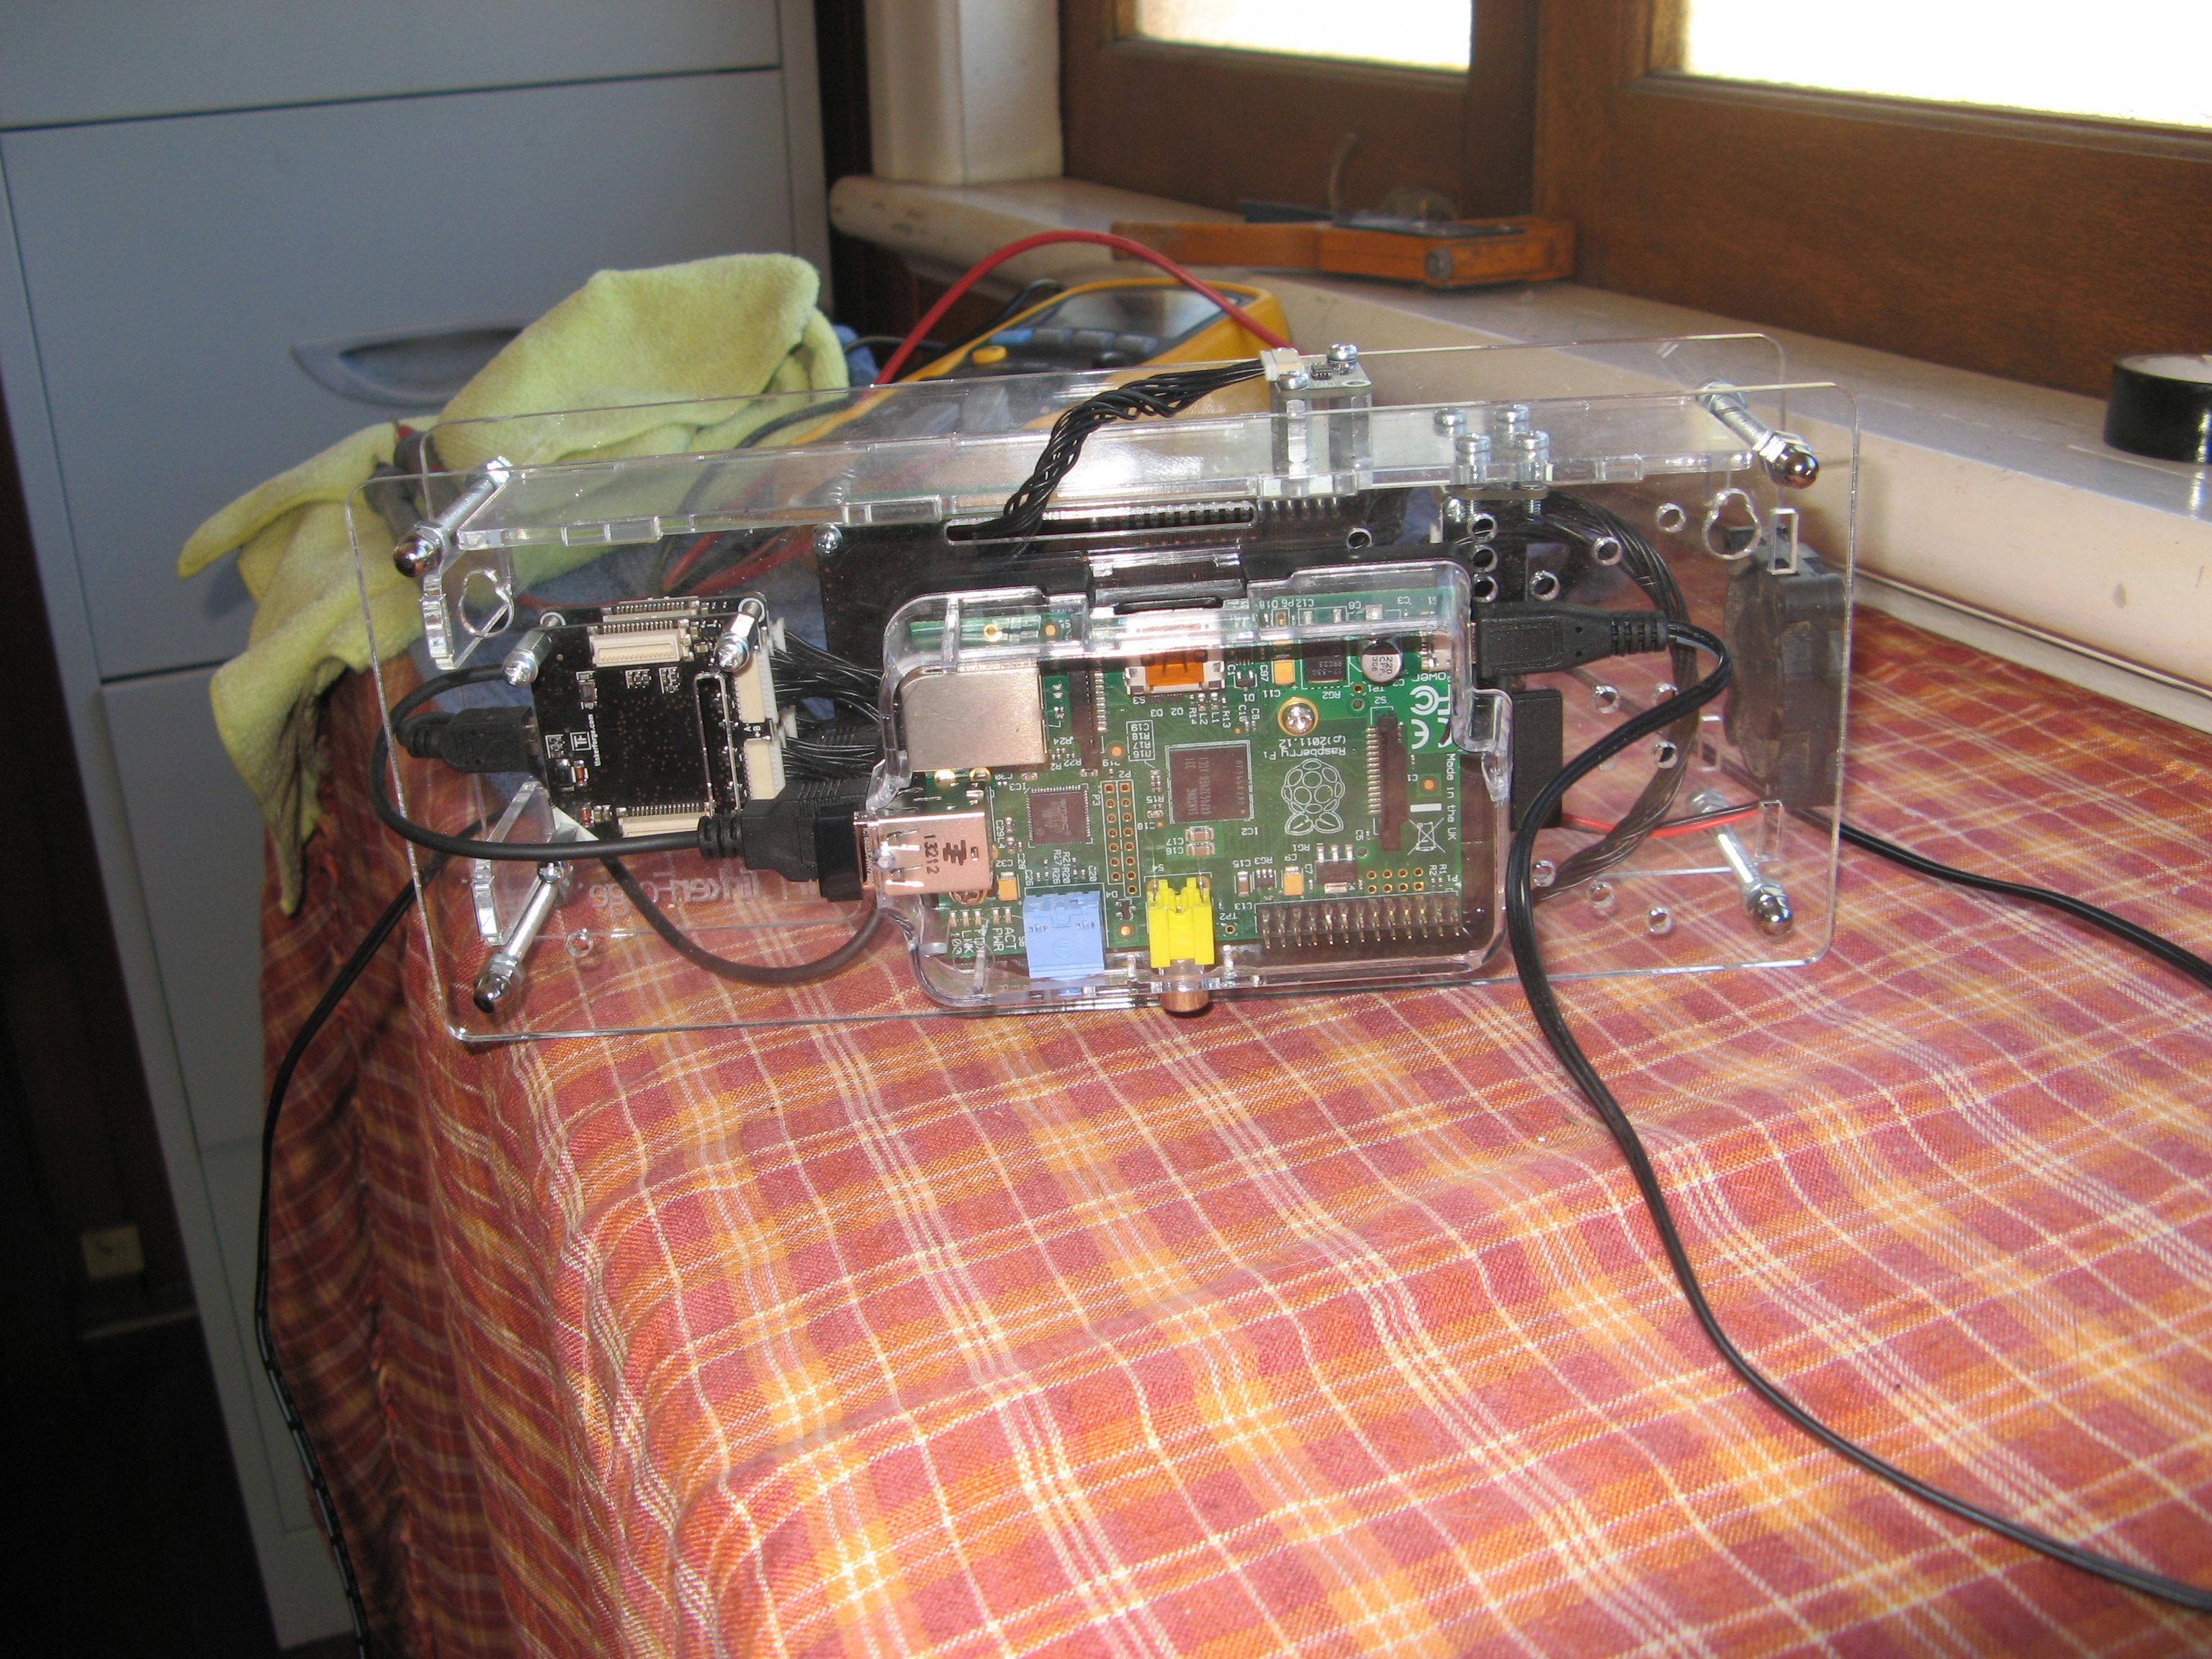
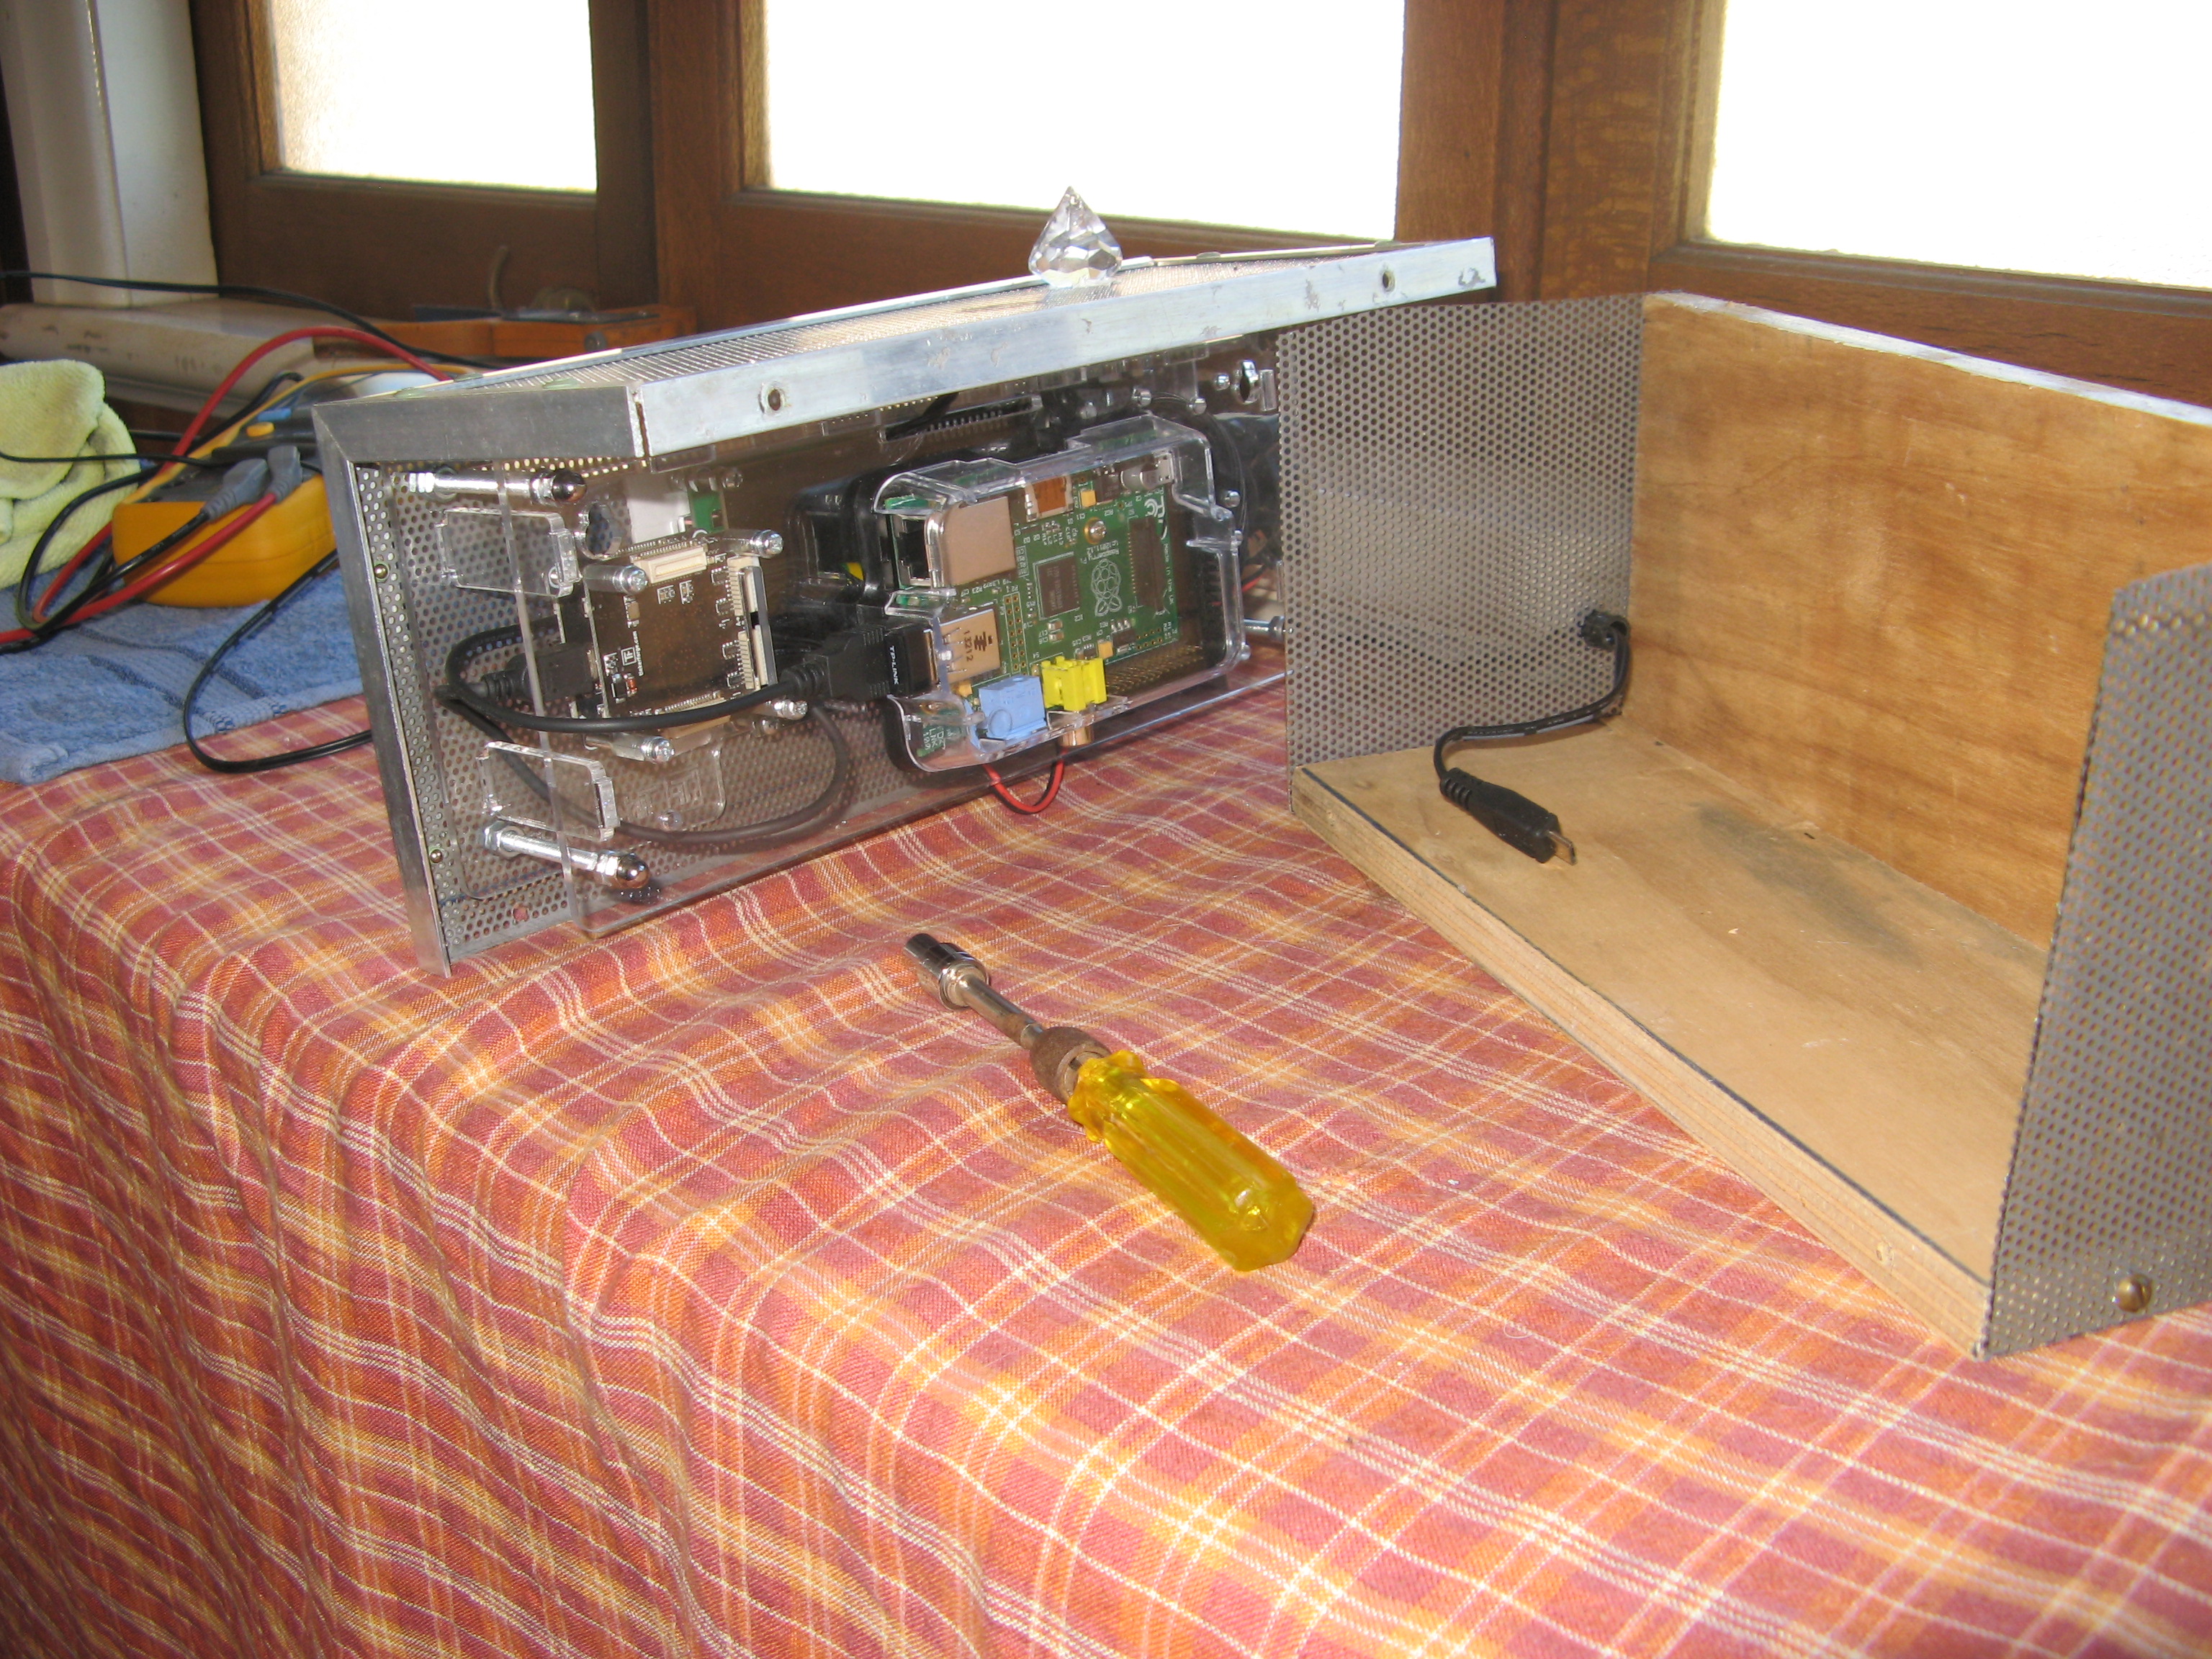
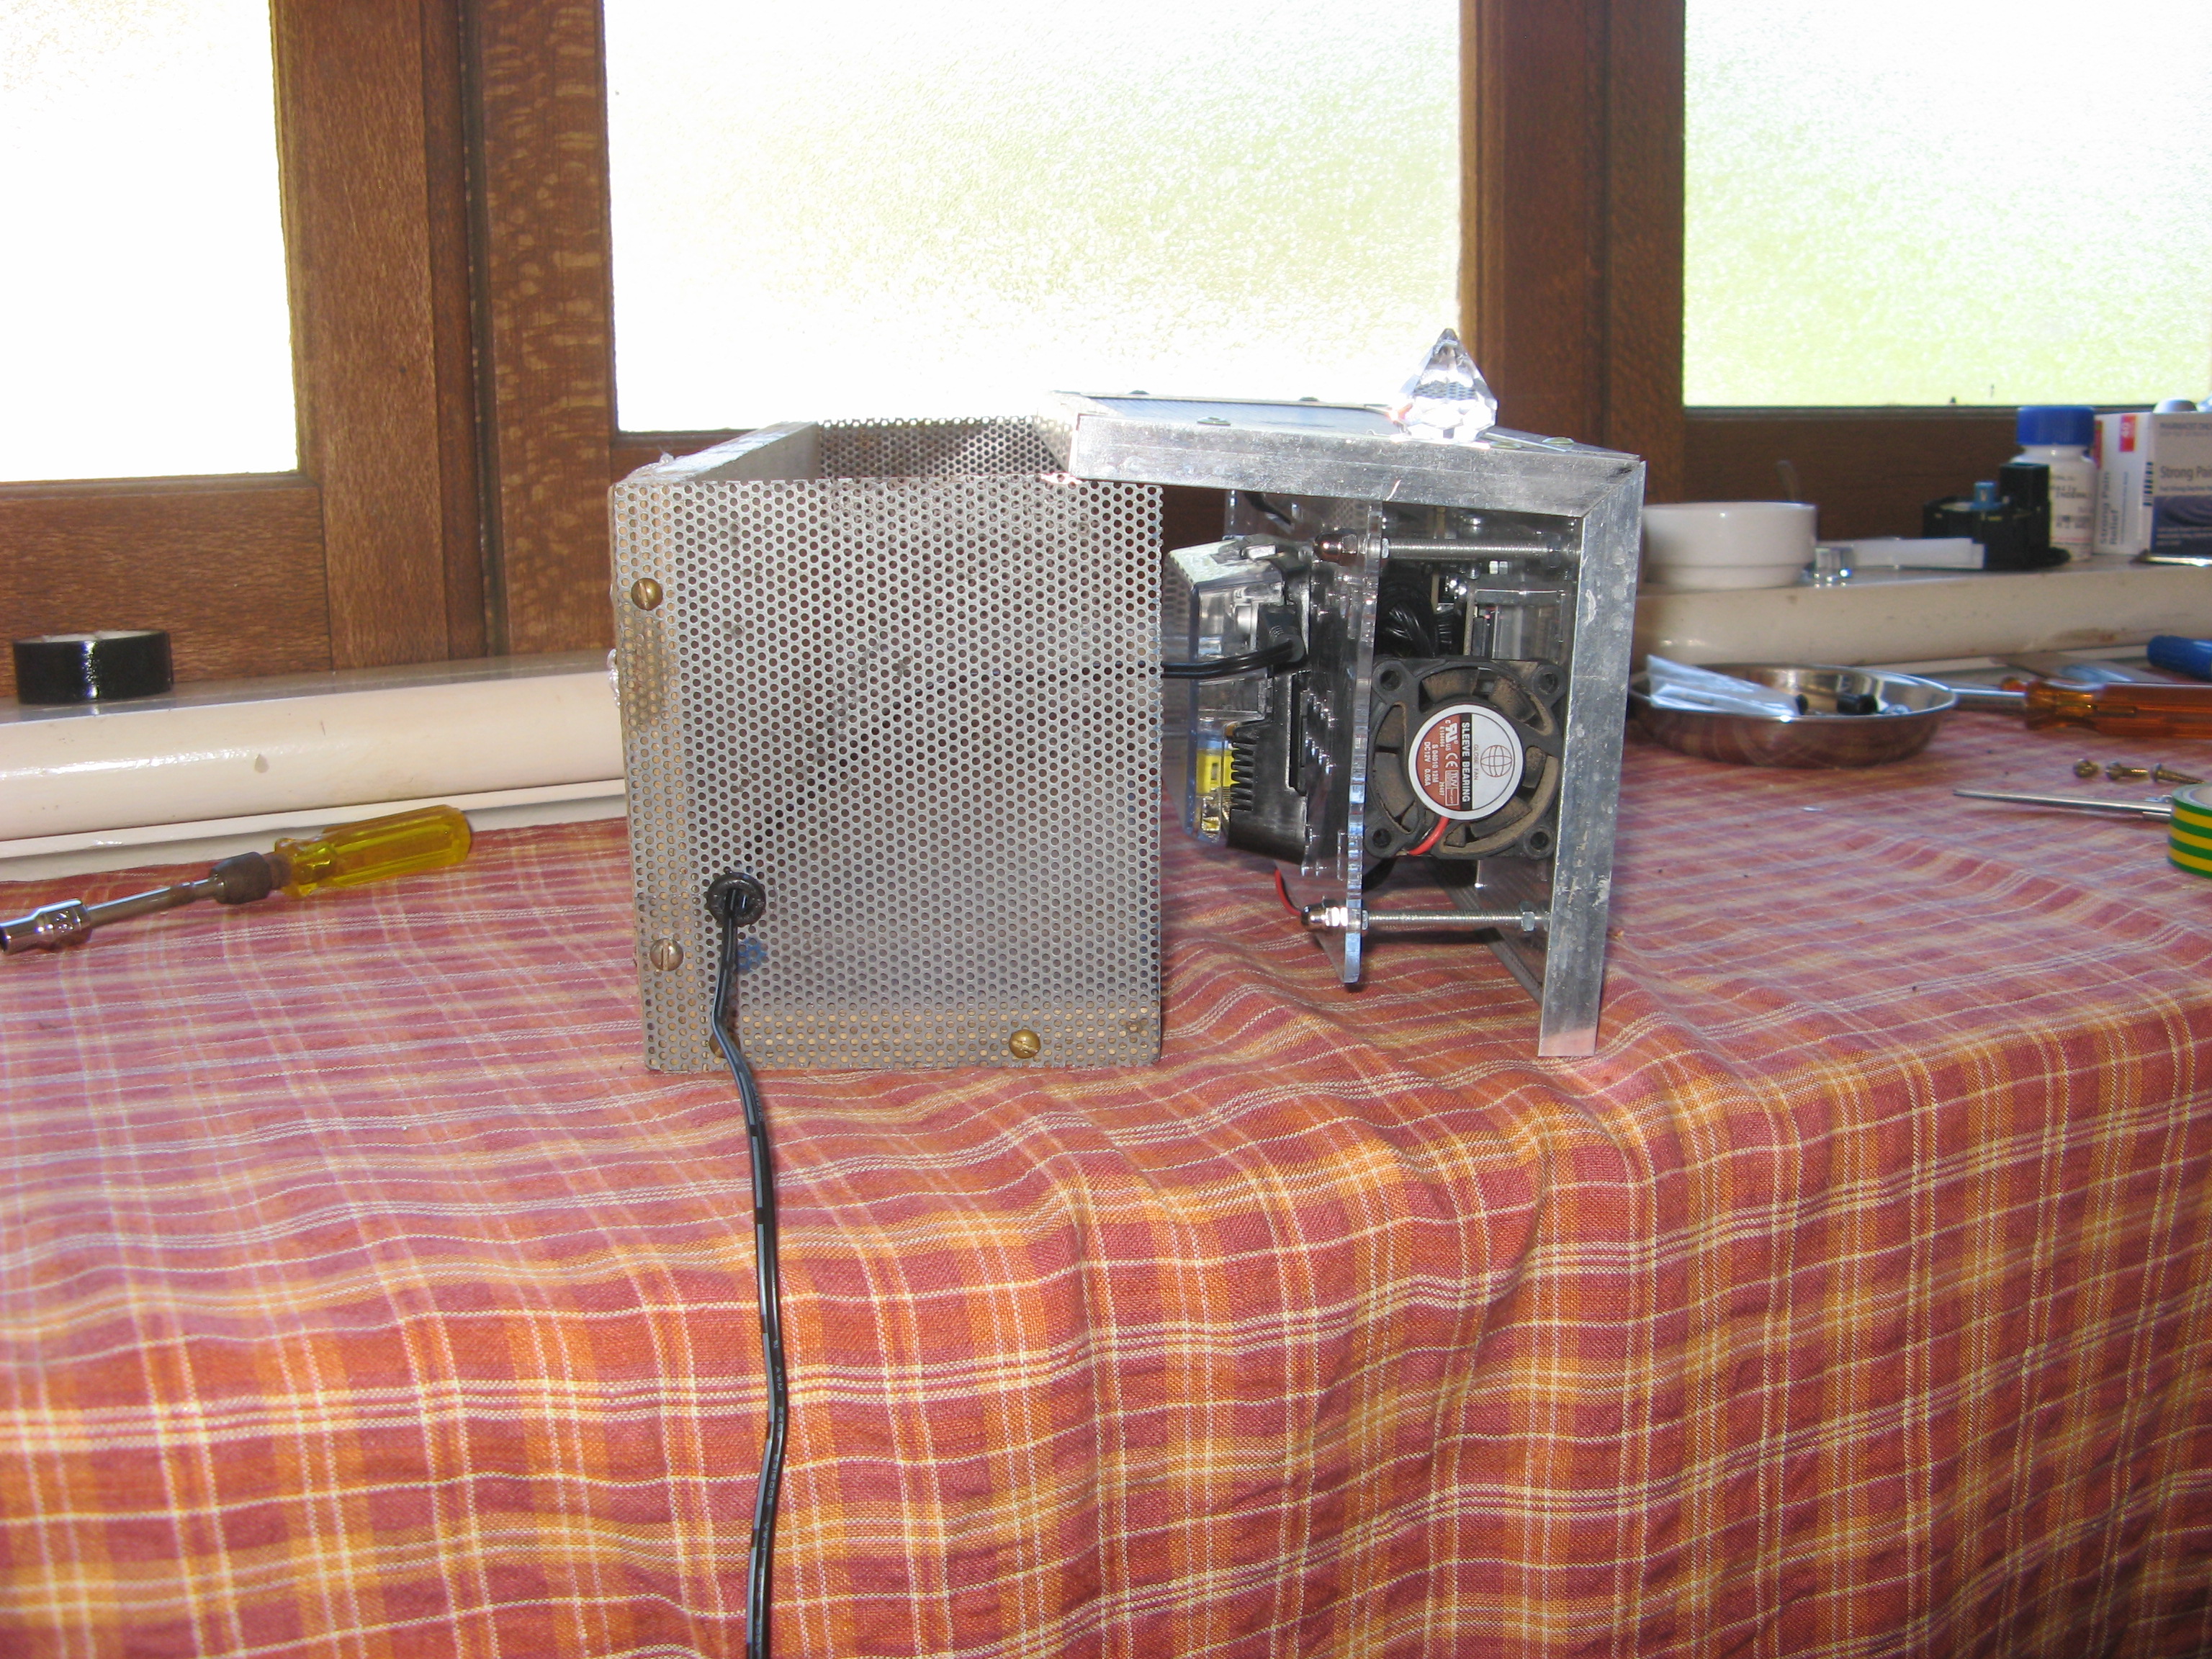
You are right. Alas, I decided to remove the fan altogether; all my measurements indicated that the fan was not very effective at all. The RPi raised the temp. inside the enclosure by som 3.5 dergrees. The solution was to remove the RPi and mount it on the outside. This is now complete!!
The drawback of course is that the RPi is now subject to insect invasion! of these we have plenty. I will need to think of something.
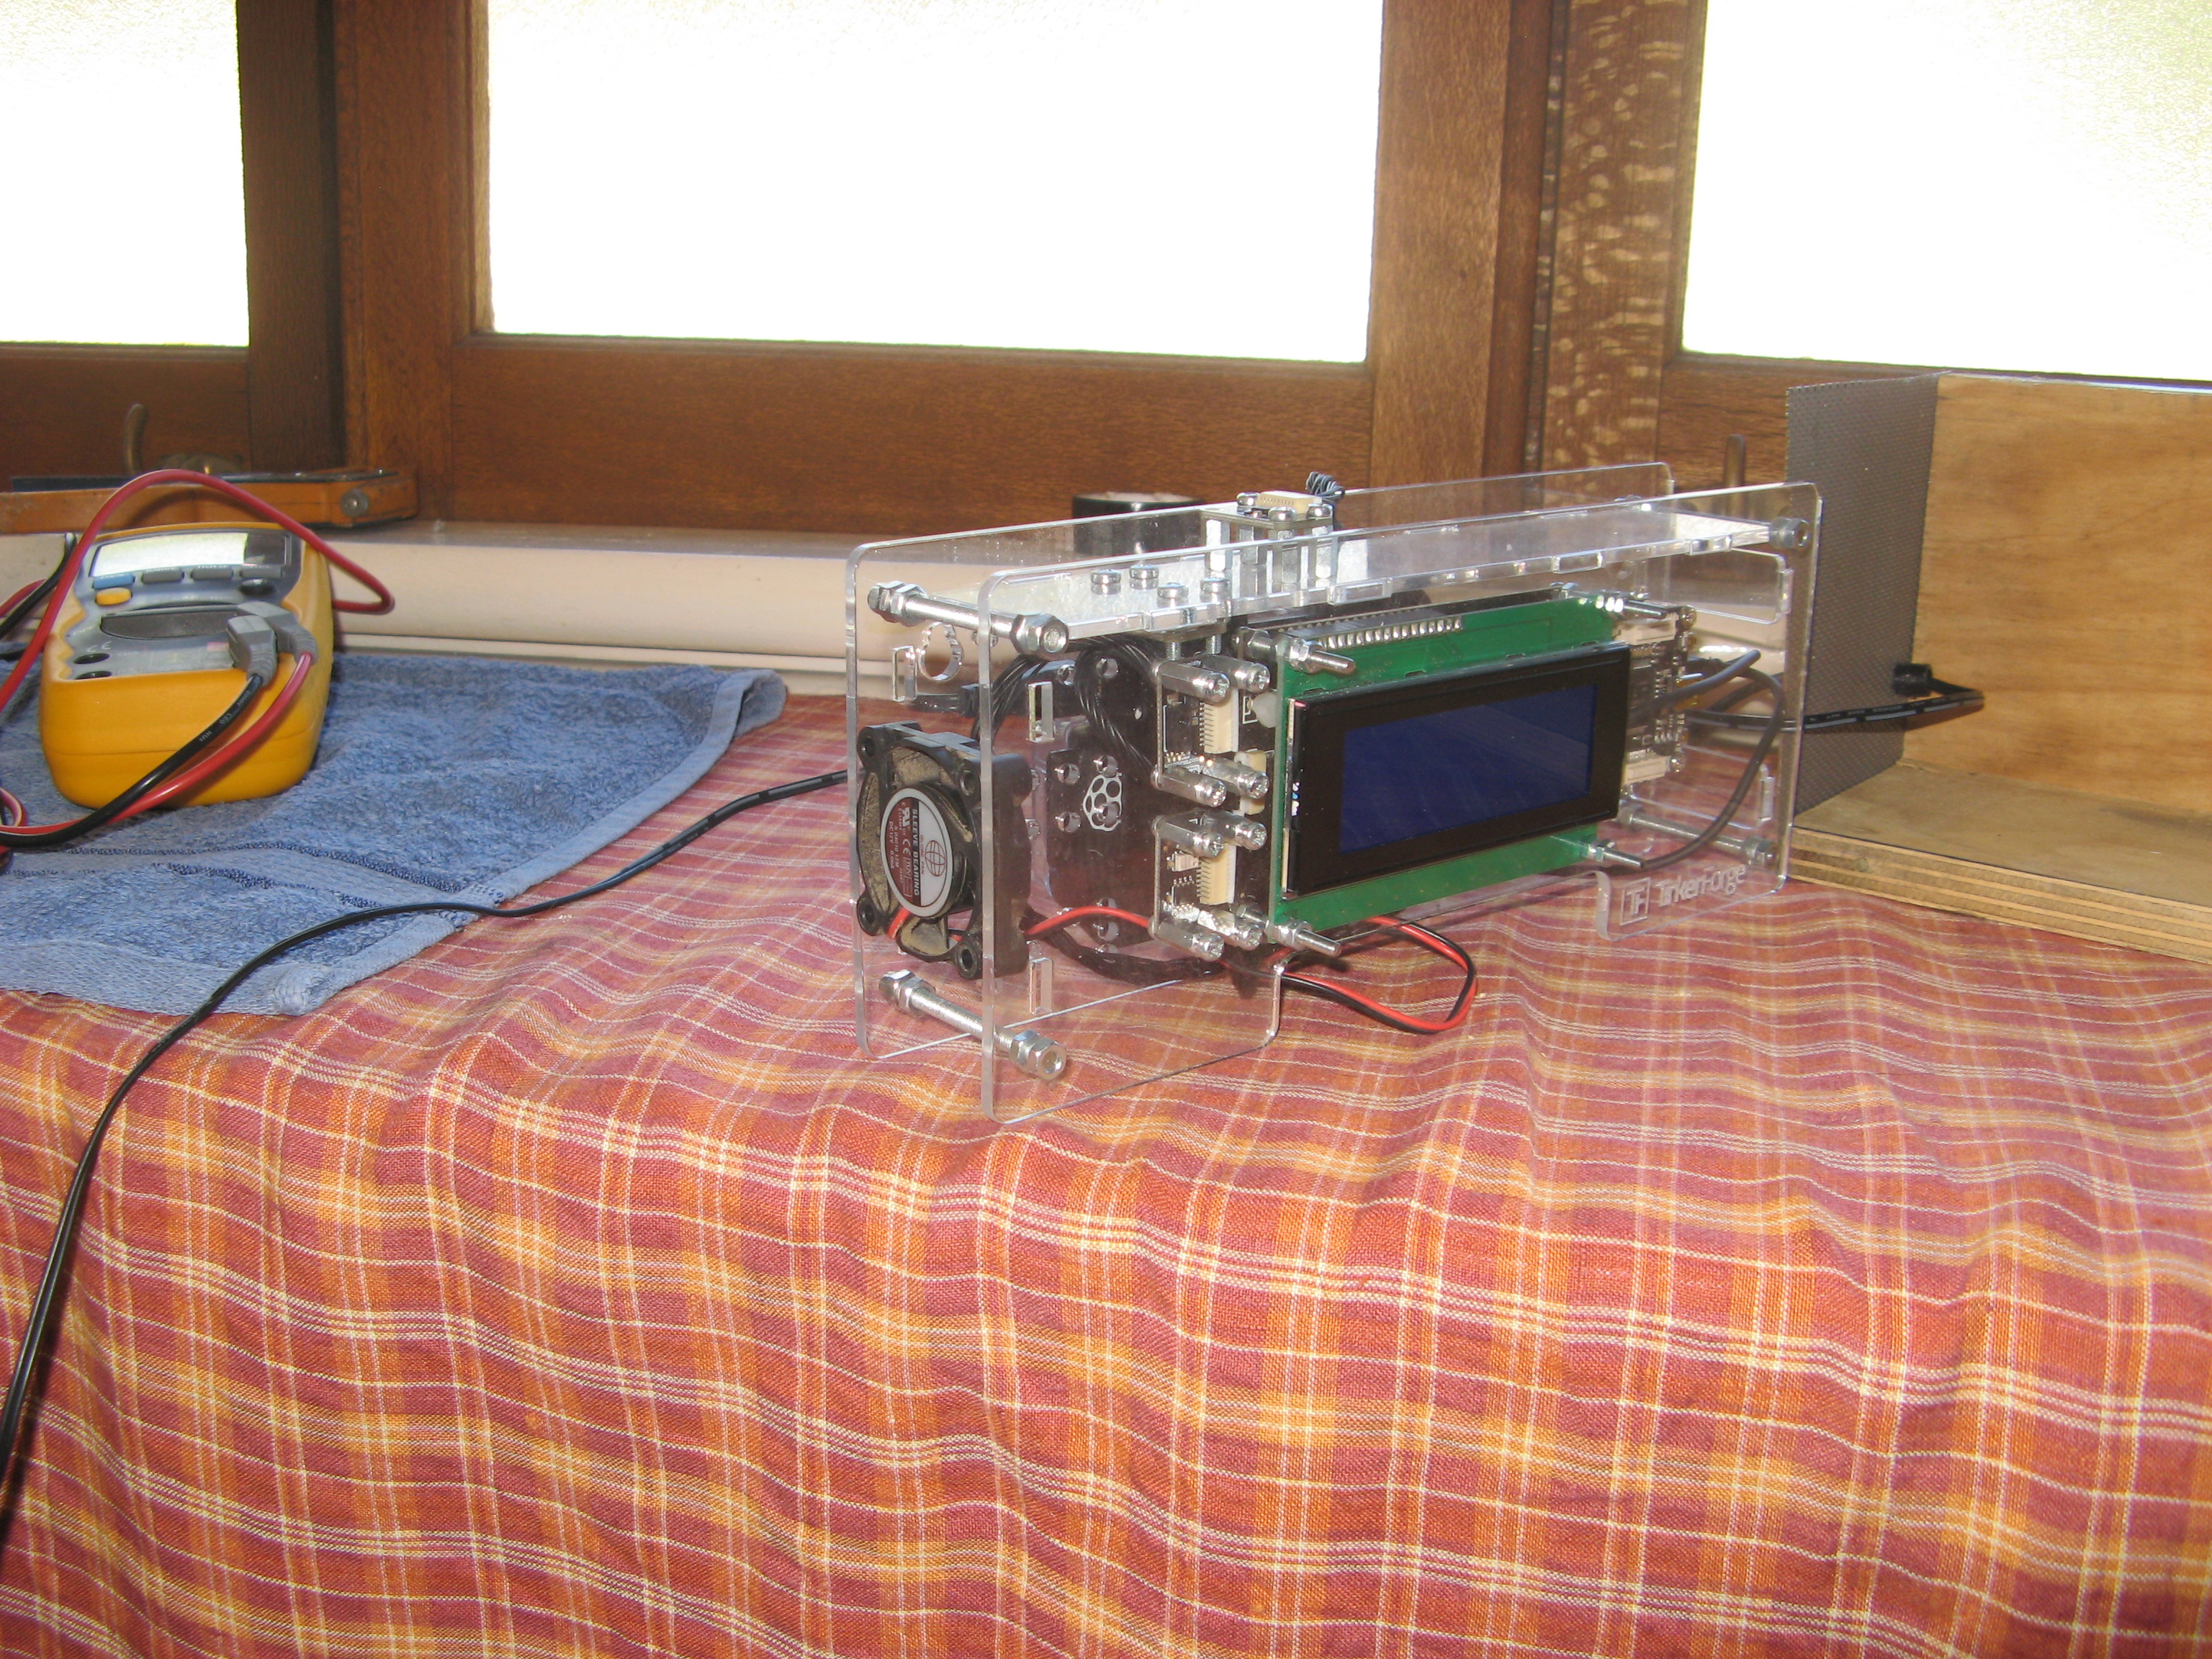
I will enclose some photos to show the result; I went to great pains to verify the accuracy of the bricklets' measurements, before I shut them in. I am rather chuffed with the result; compared with my master thermometers (2 of them) the deviation amounted to less than half of one degree; this goes for both, the humidity bricklets chip temp. and the dedicated temp. chip. I was really keen to get the humidity chip sensing the true ambient air temp. as this will affect the resultant relative humidity calculation.
Thank you for your interest. I seem to have a new idea about recording the time of sunrise and sunset. Especially around both of the solstices. Stay tuned. I might post something soon.
Cheers
Karl

-
Noch ein paar bilder. Der Kuehler muss umgetauscht werden es ist ein 5V geraet; lauft ja aber zu langsam. Habe am 5Volt rail mit umgeaederten bricklet cabel angeschlossen beim zweiten Master Brick.Ist immer noch um 2.75 grad zu warm.
-
Thanks Nic. How did you find this info.??
Bravo, you are a genius.! but then, you probably already knew that!!
Cheers
Karl
-
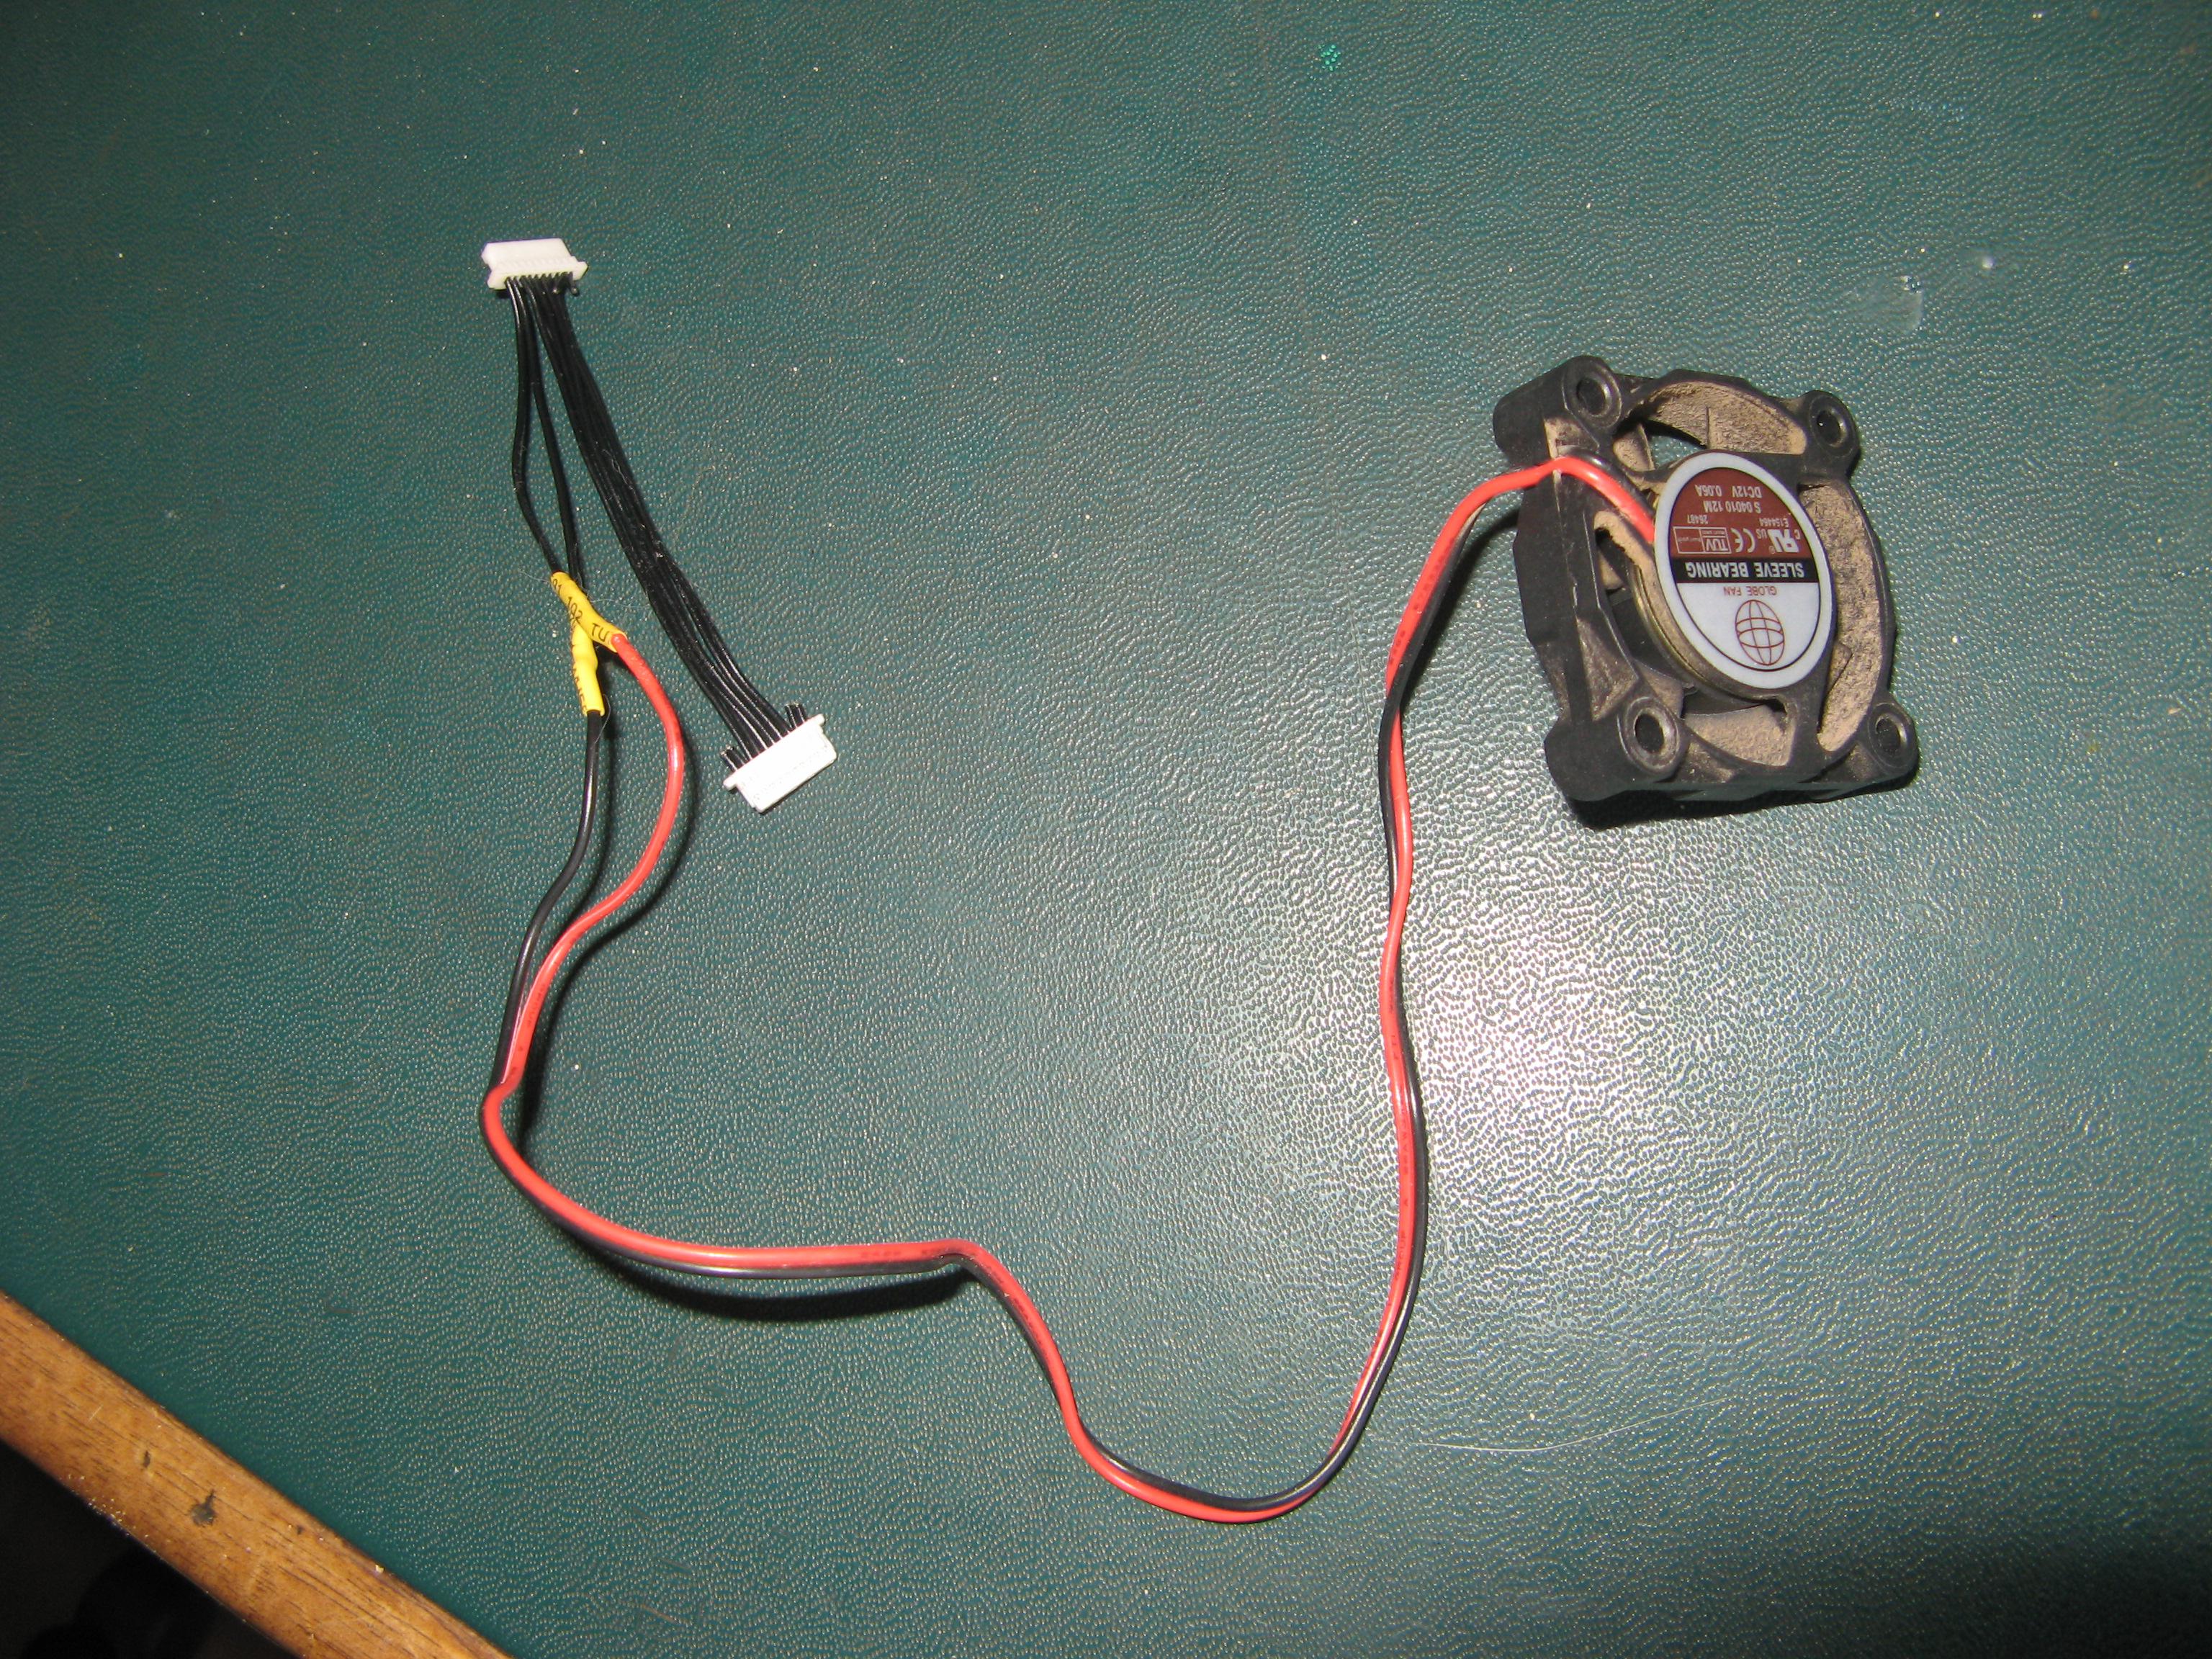
Weiss jemand was die pin-outs sind fuer die bricklet kabeln? Ich suche +/- 5 volt.Ich habe ein farbiges auseinander gelegt und sehe die folgenden farben. (contakte unten) Von links nach rechts.Rot,Blau,Weiss,orange, gelb, grau, violet, gruen, scwartz, braun. Sagmal rot ist nummer eins und braun nummer zehn.
Ich habe schon information gesucht aber nichts gefunden. Weil die contacte so klein sind ist es sehr schwiering mit den multi-meter zu messen.
Danke
-
Ich moechte das der 5V luefter immer (wenn die Wetterstation angeschalten ist) lauft.Aber auser einen USB port gibts ja nichts. Irgendwie mueste man ein bricklet kabel umaendern, sodas ein ende einfach im brick reingeht und das andere ende beim Kuehler angeschlossen wird??. Die bricklet connectors sind ja so wintzig. Hat ja 10 kabeln, Menschenskinder. Ich brauche doch nur zwei, +/- 5Volts. Hat das schon jemand fertig gebracht??
-
Gibt es das fuer 5 volts?
-
Ich habe einen alten bestandteil (Video card cooling fan) unter meinen klumpert gefunden auf die 5volt cabel von speciellen USB angeschlossen und er LEUFT. Ich habe mir ein paar contacte von Tinkerforge bestellt in der hoffnung das die bricklet kable eine 5 volt auslassung (rail?) haben.Ich habe das USB cabel das alle draete separate accessible macht; ist mit dem Raspberry bundle gekommen. Ein bischen zu lange,aber ich muss experimentieren uns sehen ob man allerdings erhaltbaren USB cabeln so umaendern kann.Ich hoffe das ich einen anschluss machen kann mit den Contacte die in ein standard bricklet rein passen. Natuerlich muss ich ein 5 volt rail finden??
Ja langweilig wird es ja einen nicht bei so einen project. Wenn ich erfolgreich bin (im ende) werde ich gerne meine erfahrung mit allen zu verteilen.
-
Gibt es ein Bricklet fuer einen kuehlungs fan? wuerde sehr willkommen sein !!
-
Entschuldigung ich habe vergessen deine frage zu beantworten. Ich habe temperatur,feuchtigkeit Illuminance, barometer and LCD bricklets daran wegen dem hatte ich noch einen master brick ran geben nuessen weil man ja nur vier stueck an einem anschliessen kann.
Brickdeamon for Photron to peruse
in Anfängerfragen und FAQ
Geschrieben
Thank you.